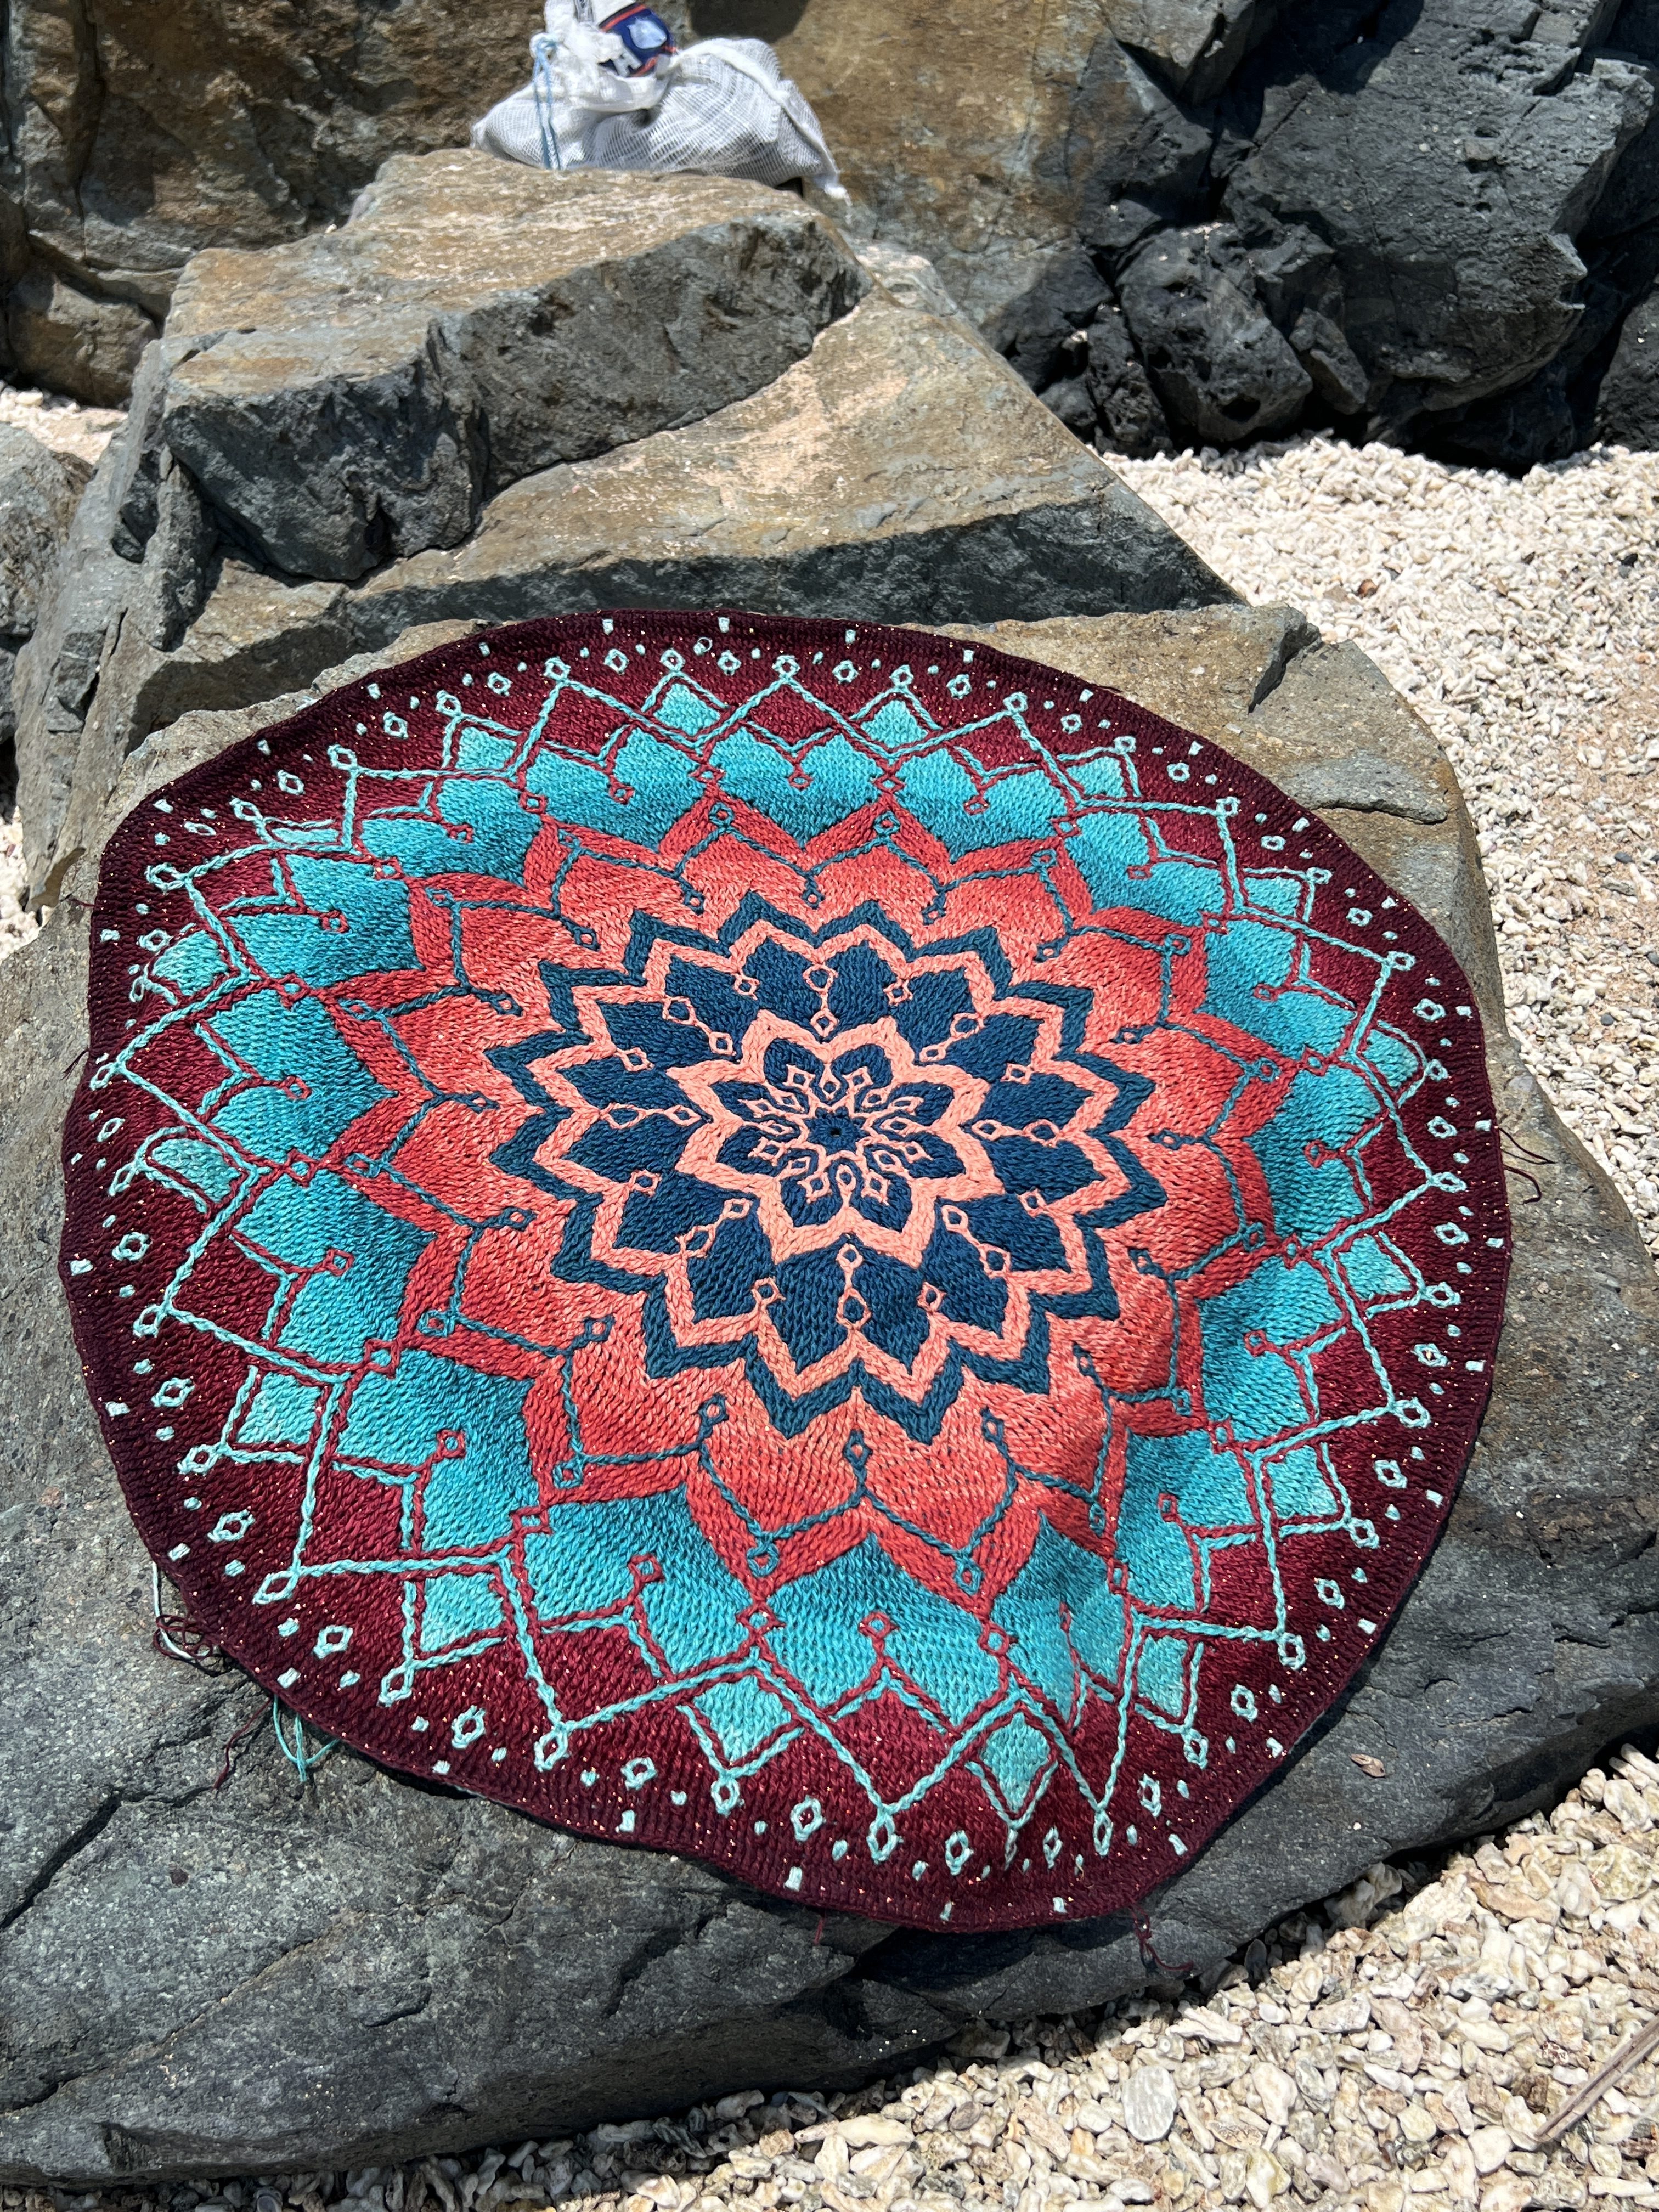
In mosaic crochet each row is worked with different yarn color, that needs to be cut, leaving yarn ends on two sides of the project. these yarn ends can be woven into the fabric of the blanket, or enclosed into an “envelope border”, also called “double border”. This kind of border will secure the yarn ends inside and prevent unravelling, in the same time giving your blanket a nice, dirable and professional finish.

EXAMPLES OF ENVELOPE BORDERS


Tutorial
For a perfect envelope border I recommend using 3 hooks, one of the same size as the body of the blanket, one half size down and one half size up.
- To make the slip-stitched foundation for the border we will use the hook half size up. This way we will create larger stitches and it will be easier to work into them later on.
- To work along the top and the bottom sides of the blanket, use the same hook as you used for the body of the blanket.
- To work along the right and the left side of the blanket, use the hook half size up. We do that, because DC stitches are usually longer than 2 SC stitches, and using the same hook might create a border that will be too tight and will be pulling and curling the sides of the blanket.
Prepare the edges of the blanket by tying pairs of yarn ends with double knots. Cut the yarn ends to about ¾” (2cm). In my sample the yarn ends are cut a little bit too short, but I made sure the knots are tight.

Border foundation round
Work on the top row, the right side of the blanket.
Using the larger size hook, slip-stitch into both loops of each stitch starting with several stiches before the corner. Work into the border stitch, then turn and continue slip-stitching into each border stitch along the side. Make sure to not skip or add any stitches.
At the bottom of the blanket slip-stitch into both loops of the foundation chain stich, right where you worked the first row of SC stitches. The slip-stitches at the each corner should be a little looser than other stitches. After you’ve slip-stitched all the way around the blanket, join the round by drawing the end of the yarn under both loops of the first slip-stitch, and then onto the back of the blanket through the last slip-stitch, secure it with a knot.

Join with a slip-stitch through both loops of any stitch several stitches before the end if the last row.


Back part of the envelope border
This step of making an envelope border is one of the most difficult and annoying, so I’d like to share my tips on how to make it easier. It is better to start with the back part the envelope border, because if you start with the front, it will be almost impossible to insert your hook into the back of the slip-stitches on the back side of the blanket.
Use a hook half size down to work the first row of SC stitches into the back loop of the slip-stitches. Using a smaller hook will help you get under the back loop mush easier, however, make sure to make these SC stitches quite large, so they don’t pull the sides inwards.
Start with a standing SC into the last loop before the corner, or by joining with a slip-stitch into the second to last loop, then make the Corner: work a SC into the last stitch of the side, then Ch2, and then work a SC into the first stitch on the next side of the blanket. When this round is finished, close it with an invisible slip-stitch join, and work the second round following the pattern.
Make as many rounds of SC as needed. Close the last round with the invisible join.


Insert the hook into the second to last slip-stitch


Second round


Cut the yarn and thread it into the tapestry needle.


Front part of the envelope border
On the front of the blanket work into the top loop of the slip-stitches.
Start at the same corner where you started the back part of the border.
Join with a slip-stitch into the second to last slip-stitch of the border foundation round. Work a SC into the last slip-stitch, Ch2, turn and work a SC into the first slip-stitch on the next side of the corner.
Continue working SC stitches into each slip-stitch, and make corner increases at the end of each side. Use the hook half size up when working on up and down the *row* sides. Work three rounds of SC stitches around the blanket.


Joining both parts of the border
When the back and front parts of the border are done, make sure that all the ends of yarns are secured with knots and cut to a couple of inches long, no need to weave them in as they will be enclosed inside the border. Place stitch markers into the first Ch st of each corner increase.
Join the yarn that you will be using to finish the border, insert the hook into the BLO of both Ch sts of the back and front parts of the border and make a SC, then Ch2, then work a SC through BLO of the second pair of Ch sts of the corner increase. Continue joining the back and the front by working SC stitches through BLO of the stitches below.
Close this round with the invisible join. Cut the yarn, weave the end inside the envelope border.


You can leave the border like this or continue working mosaic pattern to make a larger border for your blanket.
VIDEO-TUTORIAL
Please check out my video-tutorial here https://youtu.be/5ZoDNstgGeM
Which style of borders do you prefer?


Leave a Reply